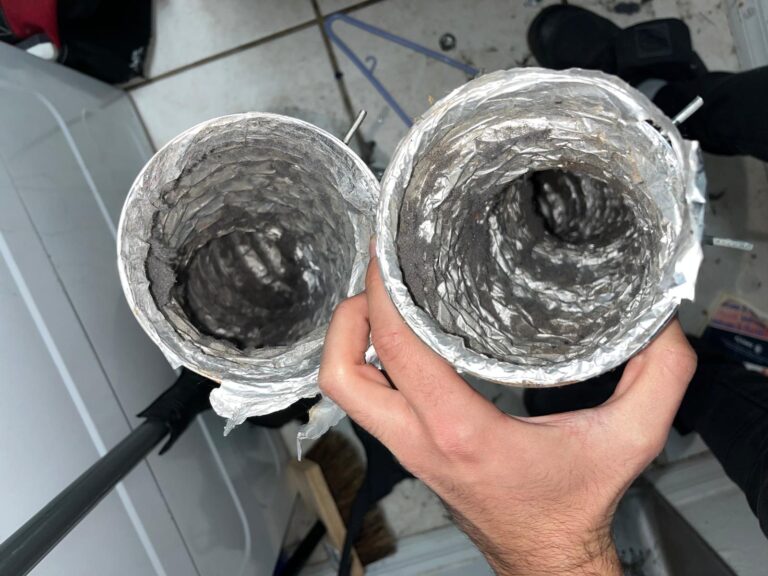
How to Clean a Dryer Vent Yourself (And When Not To)
To clean a dryer vent yourself, unplug the dryer, pull it away from the wall, disconnect the flexible transition duct, run a rotary brush kit through the wall duct from the inside, clear the exterior termination flap from outside, then reconnect everything and run a 15 minute heat cycle to confirm strong airflow. That process takes most homeowners 45 to 90 minutes and works well on a short, straight run under about 8 feet that exits through an accessible exterior wall. If your vent goes up through the roof, runs more than 15 feet, has multiple elbows, or feeds a second-floor laundry closet, this is the point where DIY stops being smart, and we explain exactly why below.
We clean dryer vents for a living across Port St. Lucie, Fort Pierce, Stuart, Jensen Beach and Vero Beach, and we would rather you read an honest guide than pay us for something you could handle in an afternoon. Plenty of Treasure Coast homes have a simple garage-wall or side-wall dryer vent that a homeowner can absolutely maintain. Plenty of others do not. Here is how to tell the difference, and how to do the job right if it is yours to do.
First, Decide If This Is a DIY Job
Before you buy a brush kit, go look at where the vent comes out of your house. Walk outside and find the hood, flap or louvered cover. What you see there decides everything.
| What you find | DIY or call someone | Why |
|---|---|---|
| Vent exits a ground-floor exterior wall or garage wall, under 8 feet of duct, one elbow or none | DIY is realistic | You can reach both ends and see what you are doing |
| Vent exits through the roof | Call a pro | Working a brush on a sloped roof over a tile or shingle surface is a fall risk, and Florida tile roofs crack under foot traffic |
| Run is over 15 feet, or has two or more elbows | Call a pro | Consumer brush kits bind and separate in long runs, and lost brush heads inside a duct are a real problem |
| Second-floor laundry with the duct buried in a wall or ceiling chase | Call a pro | No access point, and pushing debris the wrong direction packs the run tighter |
| Any sign of a nest (twigs, feathers, chewed insulation, chirping, droppings) | Call a pro | Nests come with mites and bacteria, and shoving a brush into one just compacts it |
| Vent exits into a crawlspace, attic or soffit and goes nowhere outside | Call an HVAC contractor | That is an installation defect, not a cleaning problem |
Roof terminations deserve extra emphasis here because they are common on Treasure Coast homes, especially in newer Port St. Lucie and Tradition subdivisions where the laundry sits in the middle of the floor plan with no adjacent exterior wall. If your builder ran the duct up and out the roof, please do not climb up there with a 25 foot brush kit in one hand. Concrete barrel tile is slick, brittle and unforgiving, and roof-terminated vents also tend to be the longest and most clogged runs in the house, which means you would be doing the hardest version of the job in the worst possible position.
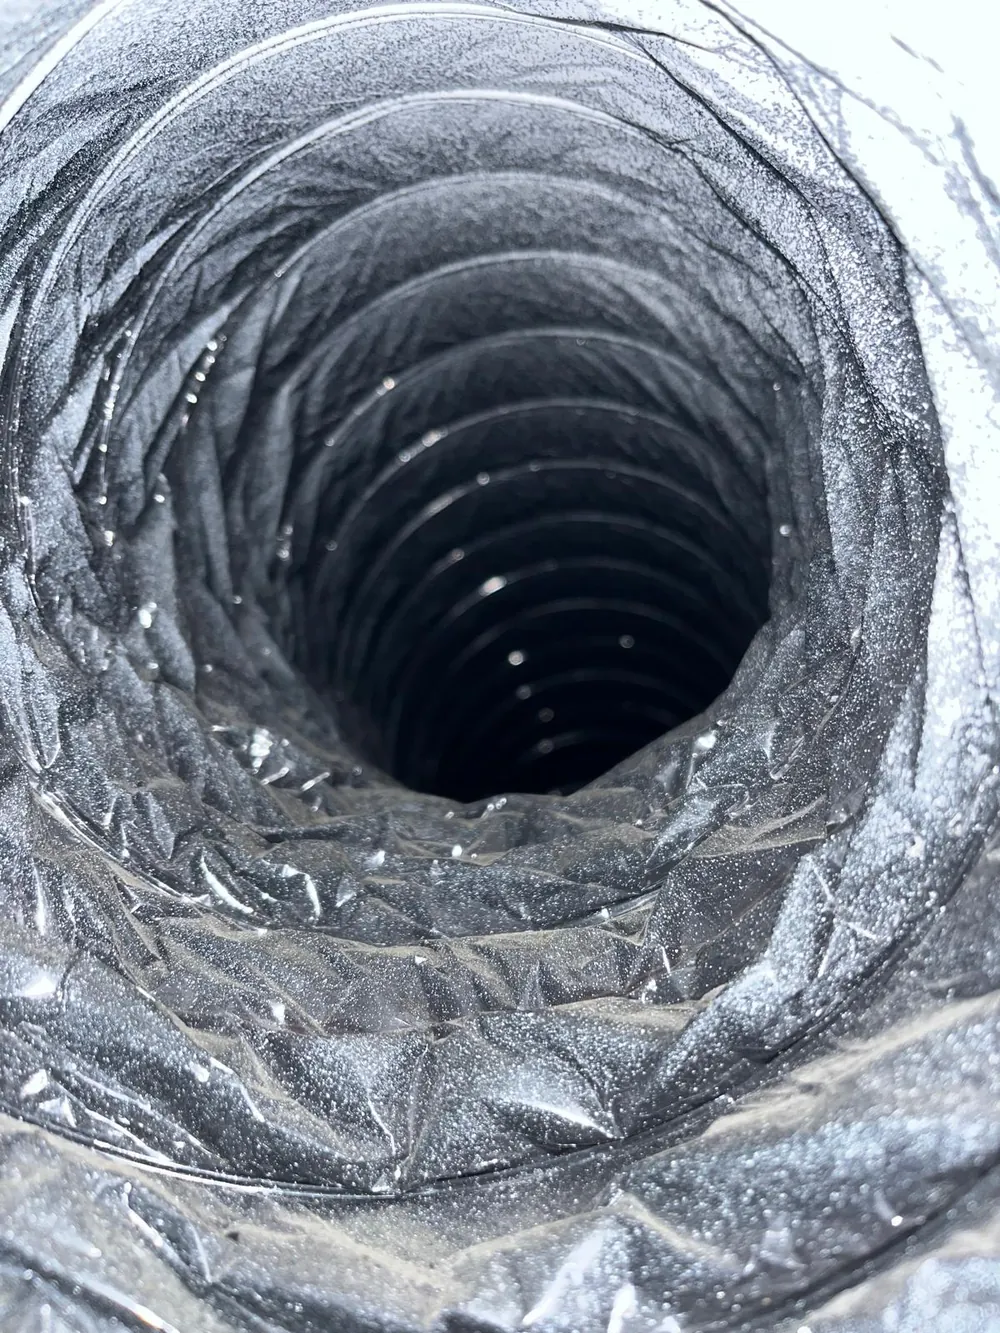
What You Need Before You Start
- A rotary dryer vent brush kit with flexible fiberglass rods (typically 12 to 20 feet, around $30 to $50 at any hardware store)
- A cordless drill, run at low speed only
- A shop vacuum with a hose attachment, or a household vacuum with a crevice tool
- A new foil or aluminum semi-rigid transition duct, plus two clamps (about $15, and honestly worth replacing while you are back there)
- A nut driver or screwdriver for the clamps
- A flashlight
- Work gloves and a dust mask
- A helper if your dryer is gas, or if it is a heavy front-loader on a pedestal
One purchase to skip: the vacuum-attachment lint kits sold as a cheap alternative. They pull surface fluff out of the first two or three feet and do nothing to the compacted layer further down the run, which is where the actual restriction lives.
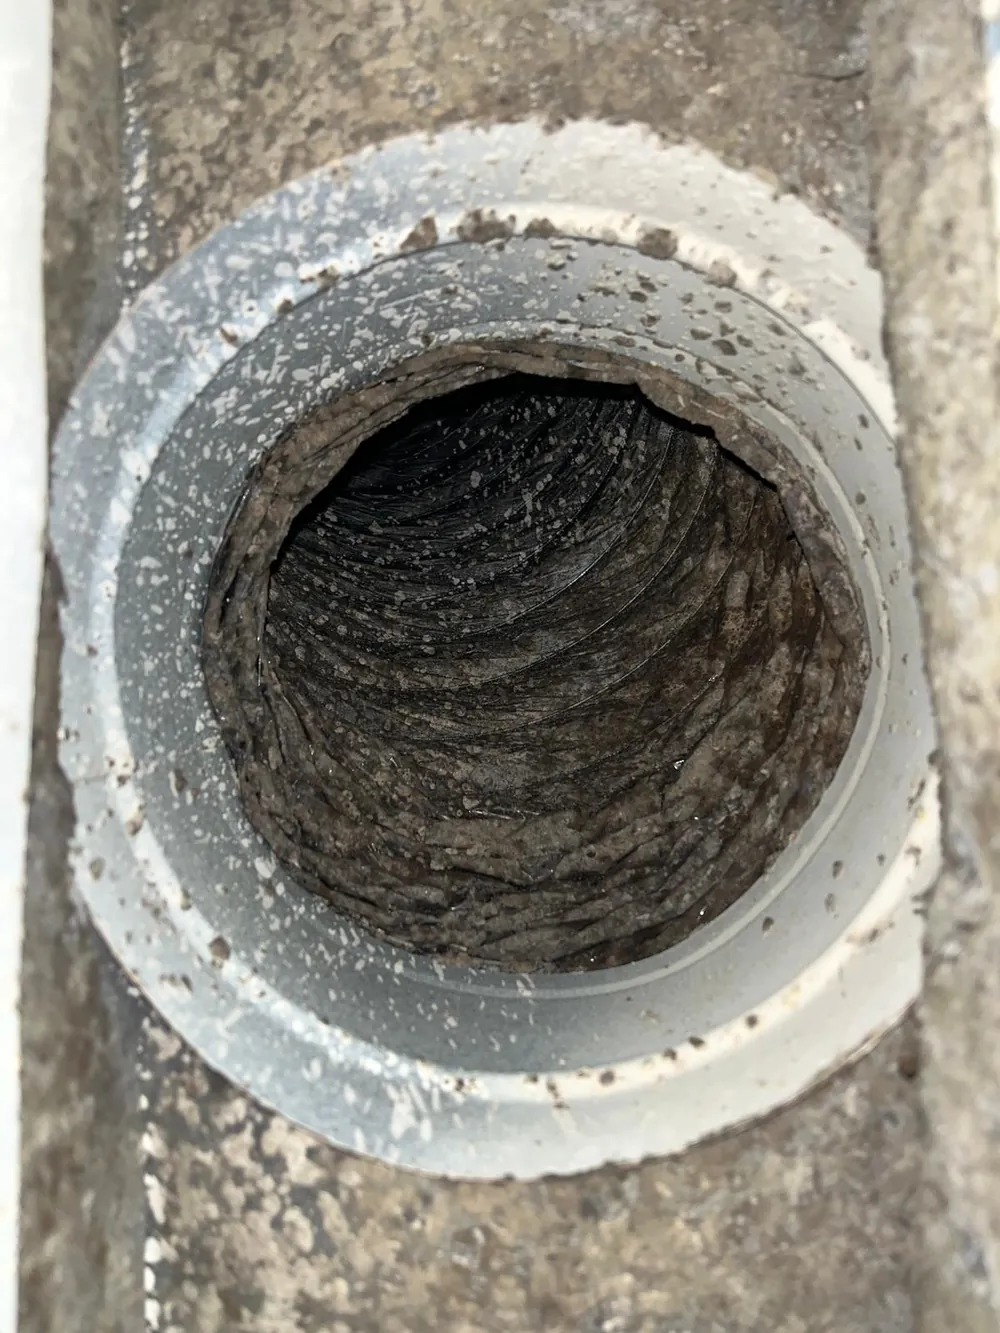
How to Clean a Dryer Vent Yourself, Step by Step
1. Kill the power (and the gas)
Unplug the dryer from the wall outlet. If you have a gas dryer, also close the gas shutoff valve behind it, which is usually a small yellow-handled lever on the supply line. Turn the handle so it sits perpendicular to the pipe. Do not disconnect the gas line itself. You only need to move the dryer far enough to work behind it, and the flexible gas connector has enough slack for that.
2. Pull the dryer out and disconnect the transition duct
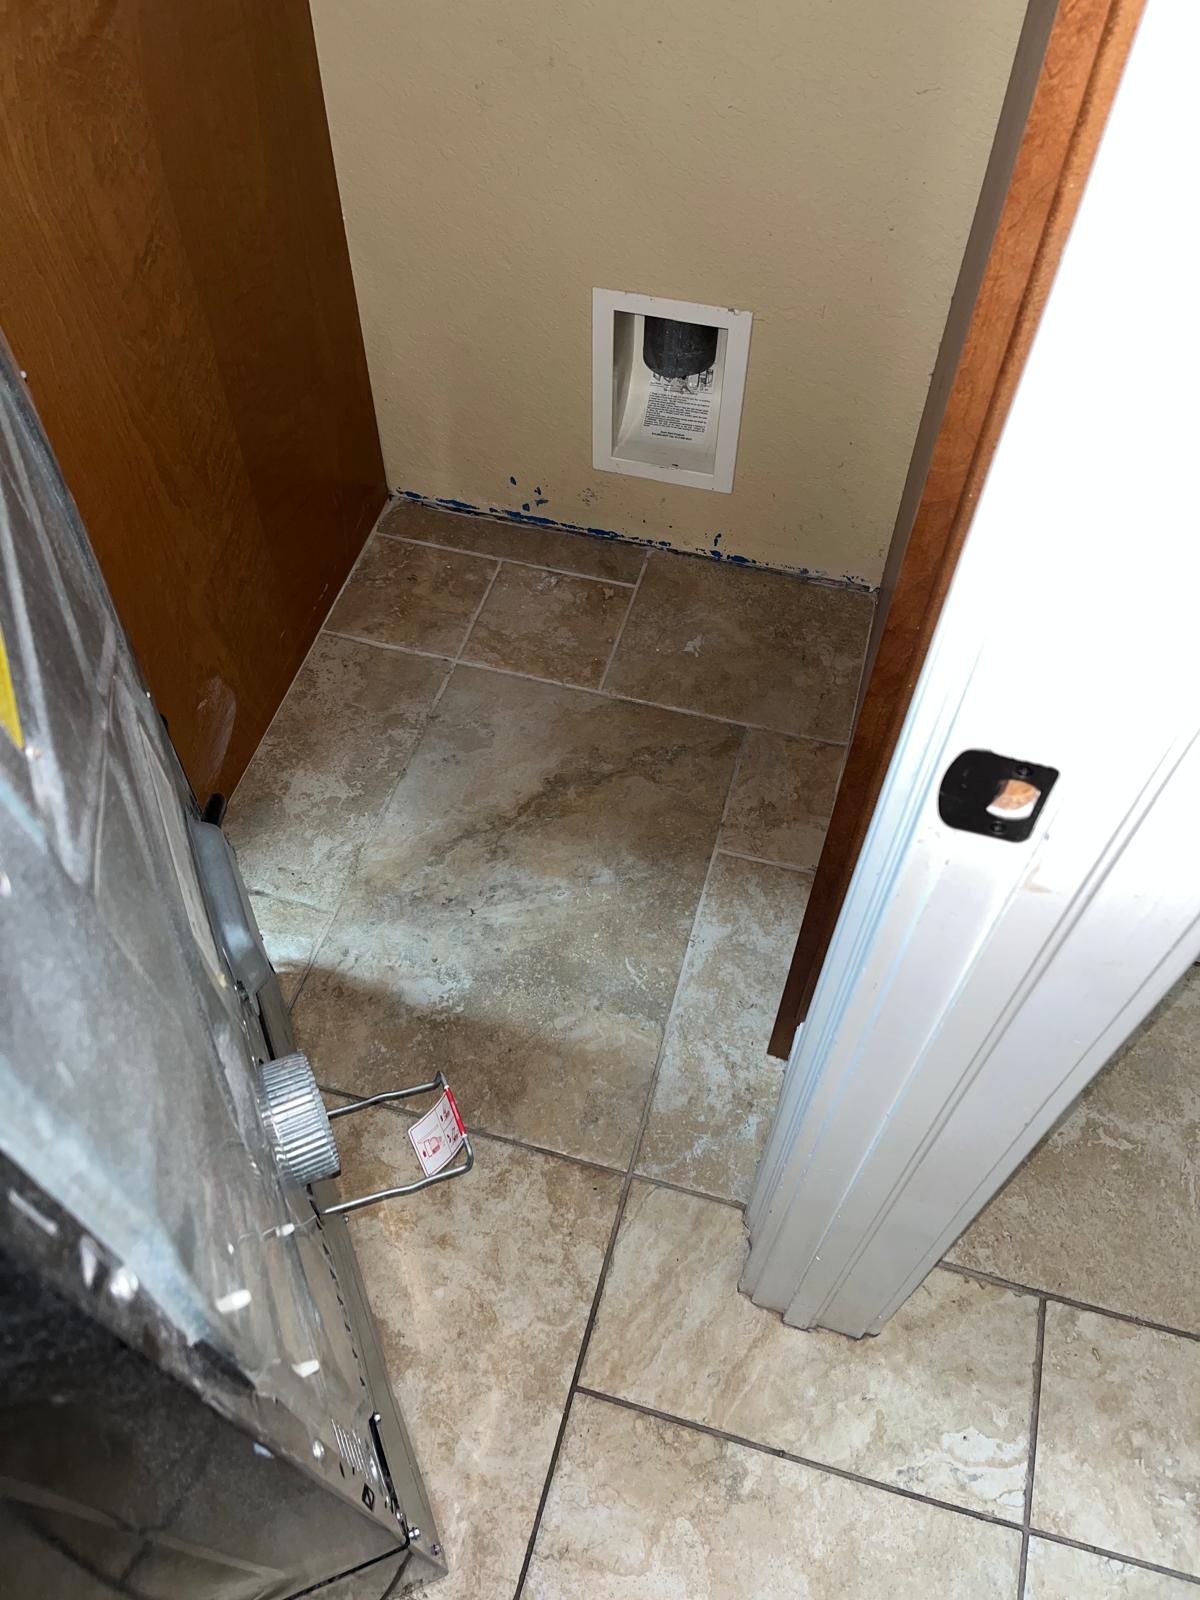
Walk the dryer forward about two feet. On tile, slide a towel or piece of cardboard under the front feet so you do not scratch anything. Loosen the clamp where the flexible duct meets the dryer’s exhaust collar, then loosen the clamp where it meets the wall duct, and pull the transition piece off both ends.
Look at what you just removed. If it is white vinyl or thin plastic accordion hose, throw it away and replace it with rigid or semi-rigid metal. Vinyl transition ducts are not code compliant, they trap lint in every ridge, and they melt. This is the single most common defect we photograph on Treasure Coast jobs, usually in homes where a previous owner or a delivery crew hooked the dryer up in a hurry.
3. Vacuum the obvious stuff
Vacuum out the transition duct if you are keeping it, the dryer’s exhaust collar, and as far into the wall duct as your hose will reach. Vacuum the floor and the back of the dryer too, because there is almost always a mat of lint behind and underneath the machine. Take the lint screen out and rinse it under hot water with a little dish soap, then let it dry completely. If water beads up and sits on the screen instead of running through, that is dryer sheet residue restricting airflow, and scrubbing it with a soft brush fixes it.
4. Brush the duct from the inside out
Attach the brush head to one rod, chuck the other end into your drill, and feed the brush into the wall duct. Run the drill forward (clockwise) only. Reversing the drill unthreads the rod couplings and leaves the brush head stranded inside your wall, which is how a free afternoon turns into a drywall repair.
Push in slowly, add rods one at a time as you go, and keep the drill at low speed with steady in-and-out motion so the bristles actually scrub rather than polish one spot. When you feel the brush break through to open air outside, pull back a foot and work that section again. Then withdraw the whole assembly slowly, unthreading rods as they come out, and vacuum the pile of lint that follows it into the laundry room. Expect a mess. Lay a towel down.
5. Clear the exterior termination and its flap
Go outside to the vent hood. This is where the real blockage usually hides, because lint gets damp in Florida humidity and cakes around the flapper. Open the flap by hand and pull out any felted lint by hand or with the shop vac. Check that the flap swings freely and closes on its own, and that the hinge is not corroded, which happens fast in salt air along the barrier islands and near the Indian River Lagoon.
If your exterior cover has a wire mesh screen or a pest guard grid, remove it. Screens on a dryer termination are not allowed, they clog within months, and they are a common cause of the slow drying people blame on their machine.
6. Reconnect and test with a real heat cycle
Reattach the transition duct at both ends and tighten the clamps. Keep the duct as short and straight as you can, avoid crushing it against the wall, and never use duct tape or screws on the joints (screws catch lint). Push the dryer back, leaving a few inches of clearance. Plug it in, reopen the gas valve if you closed one, and run a normal timed dry cycle on high heat for 15 minutes with a couple of wet towels inside.
Then walk outside and hold your hand in front of the vent hood. You want warm, forceful, steady air, strong enough that you can feel it a foot away and the flap stays fully open. Weak, lukewarm airflow or a flap that barely lifts means either something is still blocking the run or the restriction is somewhere you could not reach. Also check that no lint is escaping around the connections behind the dryer, and confirm the machine finishes a normal load in its usual time.
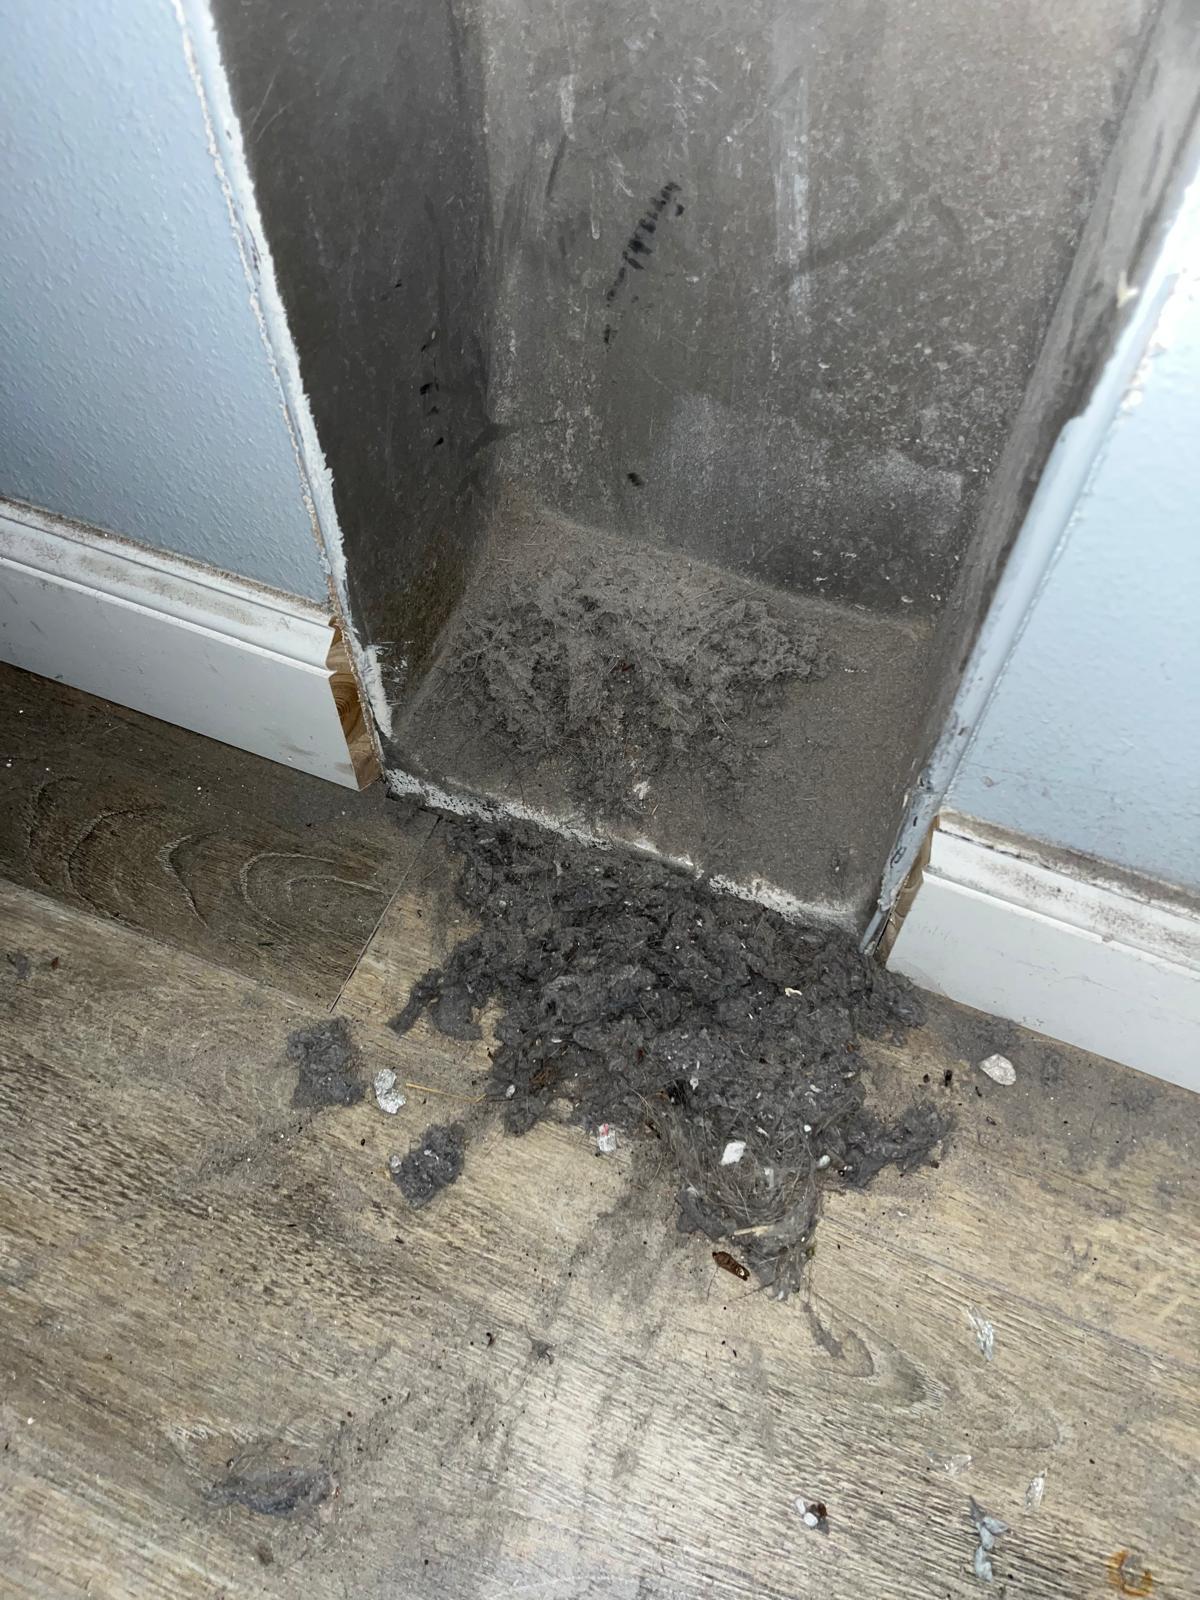
The Four Situations Where You Should Stop and Call Someone
These are not upsell warnings. These are the four cases where continuing on your own tends to make things worse or genuinely puts you at risk.
- A roof termination. Very common on Treasure Coast homes with interior laundry rooms. The duct is long, it usually has a vertical section that traps lint by gravity, and the only access point is on a roof. Tile roofs crack, wet mornings make everything slick, and a fall from a single-story Florida roof is still a fall. Pros work these from the ground and from the laundry side with longer rod systems and camera verification.
- A run over 15 feet, or with multiple elbows. Every 90 degree elbow adds the equivalent of several feet of resistance and creates a lint shelf. Consumer rod kits flex and bind in long runs, and rod separation inside a wall is a real outcome we have been called to fix. If you cannot account for where your duct goes between the laundry room and the outside, treat it as a long run.
- Second-floor laundry with an in-wall or in-ceiling run. These runs are sealed inside the structure with no intermediate access. If you push debris the wrong direction, or if there is a disconnected joint inside that chase, you can end up dumping lint and hot moist air into a wall cavity. In Florida humidity, that is how you go from a lint problem to a mold and drywall problem.
- Any sign of a bird or rodent nest. Twigs or straw at the vent hood, a flap propped open, chirping in the wall in spring, chewed material, droppings, or a strong ammonia smell when the dryer runs. Do not brush a nest. You will compact it and push it deeper, and nesting debris carries mites and droppings you do not want aerosolized into your laundry room. Nests need to be removed intact, from the correct end, with the right protection.
There is a fifth case worth naming: if you already have scorch marks, a burning smell, or the dryer shutting itself off mid-cycle, stop using it entirely until the vent is cleared and the machine is checked. Those are heat-buildup symptoms, not inconveniences. We wrote about the local fire angle in more detail in our guide on dryer fire prevention in Florida.
Florida Specifics That Change the Math
Dryer vents behave differently here than they do in a dry climate, and it is worth knowing why your run may clog faster than the internet averages suggest.
- Humidity makes lint stick. Damp exhaust hitting an already humid duct produces felted lint that clings to the walls instead of blowing free. That is why Treasure Coast vents often need attention closer to every 12 months than the every-other-year advice you see written for northern climates.
- Salt air corrodes terminations. Homes near the lagoon, Hutchinson Island and the Fort Pierce and Vero coastline see flapper hinges seize up within a few years. A stuck flap traps lint and invites pests.
- Nesting season is real. Spring brings birds looking for a warm sheltered tube, and a corroded or missing flap is an open invitation. Check your exterior hood each spring.
- Snowbird and seasonal homes. A dryer that sat unused from May to November can have a nest or wasp activity in the termination even though nothing has changed indoors. Check the outside vent before the first load of the season, not after.
- Hurricane season. After a storm, debris and displaced insulation can end up in exterior terminations, and a flap blown loose stays loose. It takes 30 seconds to look.
If you are unsure whether yours is due, our post on how often to clean a dryer vent lays out realistic intervals by household size and duct length, and clogged dryer vent warning signs covers the symptoms worth acting on immediately.
When You Honestly Do Not Need to Hire Anyone
We will say this plainly. If your dryer is drying a normal load in a normal amount of time, your exterior flap opens fully with strong warm airflow, your run is short and straight through an exterior wall, and you cleaned it within the last year, you do not need a service call. Pull the lint screen, vacuum behind the machine, check the outside hood, and get on with your weekend.
The case for hiring out is narrower than most companies admit. It comes down to access you do not have, length you cannot reach, or a condition (nest, damage, disconnected duct) where the right move is documentation rather than brute force.
What a Pro Job Costs, and When the Math Favors Booking It
Here is the arithmetic most homeowners run once and then decide. A decent brush kit plus a replacement metal transition duct and clamps lands around $45 to $65, and the job costs you an hour or two plus cleanup. That is a good trade if you will use the kit again on a simple run.
SunDuct charges a flat $99 for an air duct cleaning in a single-family home up to about 2,500 square feet or 10 vents, and $129 for the air duct and dryer vent bundle. So the dryer vent portion, added onto a duct cleaning you may already be due for, is $30. If your run is anything other than short and simple, or if you were going to have your air ducts cleaned anyway, the DIY savings mostly disappear. Larger homes, second HVAC systems and commercial properties get a flat quote before we ever show up, so there is no per-vent math and no on-site upsell. Every job comes with before and after photos, which you can see examples of in our before and after gallery.
One thing to be clear about: SunDuct is a cleaning company, not an installer. We do not replace sheet metal or flex duct, we do not install dryer vents or reroute runs, we do not do mold remediation, and we do not touch commercial kitchen grease exhaust hoods. When we find a crushed duct, a disconnected joint in a wall, a vinyl transition duct or a termination that dumps into an attic, we photograph it, show you, and tell you what an HVAC contractor needs to do. We would rather hand you evidence than sell you a repair we are not licensed to make.
Frequently Asked Questions
Can I clean a dryer vent with just a leaf blower?
It helps on light buildup in a short, straight run, but it is not a substitute for brushing. A leaf blower moves loose fluff and leaves the compacted, humidity-felted layer stuck to the duct walls, which is the part actually restricting your airflow. It can also pack debris tighter against an elbow or a closed exterior flap. Use it as a finishing step after brushing, never as the whole job.
Should I brush from inside the house or from the outside vent?
Work from inside the laundry room, in the same direction the air already flows. That pushes debris out the exterior termination instead of dragging it back into your living space, and it lets you catch what falls out with a shop vac at the dryer end. Brushing inward from outside tends to pack lint against elbows and into the dryer’s own exhaust collar, which is harder to clear afterward.
How do I know if my dryer vent is actually clogged?
The reliable test is airflow at the exterior hood during a hot cycle. Strong, warm, steady air means the run is open. Weak or cool air, or a flap that barely lifts, means restriction. Supporting signs include loads needing two cycles, a hot laundry room, a burning or musty smell, excess lint on clothes, and the dryer shutting off mid-cycle on thermal overload.
Is a $129 professional cleaning worth it over doing it myself?
If your vent is a short ground-floor wall run, do it yourself and save the money. The $129 bundle (air ducts plus dryer vent) makes sense when the run is long, roof-terminated, buried in a second-floor wall, or you suspect a nest, or when you were due for a duct cleaning anyway, since the dryer vent adds only $30 to the $99 duct price. You also get before and after photos documenting any damage found.
If You Would Rather Not Crawl Behind the Dryer
If your run is one of the four call-a-pro cases, or you just want it handled with photo proof of what was in there, we cover Port St. Lucie, Fort Pierce, Stuart, Jensen Beach, Palm City, Vero Beach and the rest of the Treasure Coast. Flat pricing quoted before we arrive, no per-vent charges, no on-site upsells. Call or text (772) 577-2765, see what is included on our dryer vent cleaning page, or reach us through the contact form and we will tell you honestly whether you even need us.